
How to Use a Custom Section Liquid WYSIWYG Editor in Shopify 25(Without Coding Headaches)

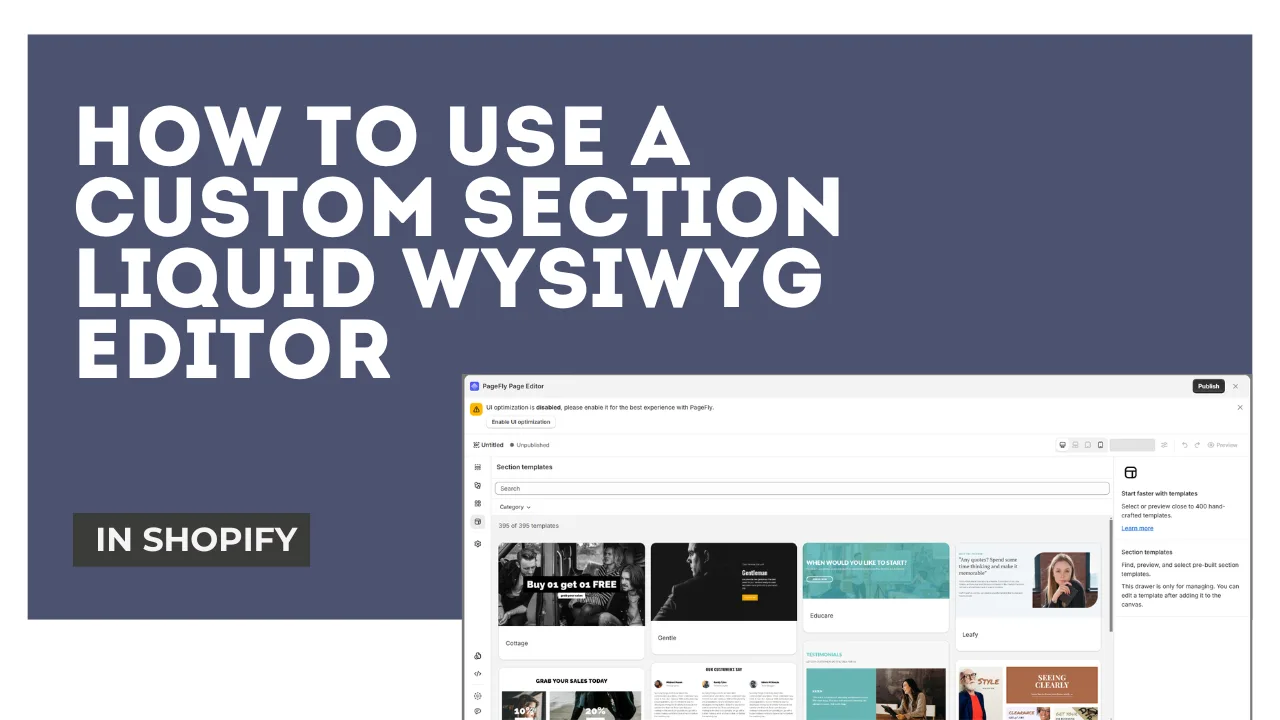
Table of Contents
Create unique Shopify sections without coding skills using the Custom Section Liquid WYSIWYG Editor. This step-by-step guide shows how to visually build stunning store layouts with drag-and-drop simplicity, instant previews, and advanced customization options. Perfect for store owners tired of limited default sections and developers seeking time-saving solutions
Ever wanted to customize Shopify sections but got stuck in the Liquid code mess? Yeah, same. Shopify is powerful, but let’s be real—it doesn’t always give you the freedom to create custom sections the way you want.
That’s where the Custom Section Liquid WYSIWYG Editor comes in. No more breaking your store by messing with code, no more limited section options. Whether you’re a Shopify newbie or a developer who’s tired of repetitive coding, this tool is a total game-changer.
In this guide, we’ll break down:
- What Shopify sections are and why they matter
- How a Liquid WYSIWYG editor makes customizations easy
- A step-by-step guide to adding and editing custom sections
- FAQs and troubleshooting tips
By the end of this, you’ll know exactly how to customize Shopify sections without breaking your site—or your patience. Let’s go.
What Is a Shopify Custom Section? (And Why You Should Care)
If you’re wondering what a custom section is, here’s the simplest way to explain it:
Shopify sections are modular blocks that make up your store’s design. Think of them like Lego pieces—you stack them to create product pages, homepage layouts, and more.
But here’s the problem…
Default Shopify sections = Limited.
If you’ve ever tried customizing a section beyond the basic settings, you know the struggle. You either:
- Mess with Liquid code and risk breaking your store.
- Buy a premium theme just to get the layout you want.
- Give up and accept the boring default look.
And that’s exactly why custom sections exist. They let you:
- Create unique layouts beyond what your theme allows.
- Add advanced features like tabs, sliders, or interactive content.
- Fully control design without waiting for Shopify updates.
Sounds great, right? Now, let’s talk about the tool that makes all this easy—WYSIWYG editors.
What Is the Custom Section Liquid WYSIWYG Editor?
Okay, let’s break this down.
- Liquid = Shopify’s coding language (used to build themes).
- WYSIWYG (What You See Is What You Get) = A drag-and-drop editor where you don’t need to code.
Put them together, and you get a Custom Section Liquid WYSIWYG Editor—a tool that lets you build Shopify sections visually without dealing with Liquid code.
Why this matters:
Sounds like something you need? Let’s show you how to actually use it.
How to Add & Edit Custom Sections Using a WYSIWYG Editor
Step 1: Create a Custom Section in Shopify

- Go to Shopify Admin > Online Store > Themes.
- Click on Edit Code for your active theme.
- Find the Sections folder and click Add New Section.
- Name it
custom-section.liquidand hit Create.
Now you have a blank custom section file ready for customization.
Step 2: Install a Liquid WYSIWYG Editor
By default, Shopify doesn’t include a built-in WYSIWYG editor for sections. So, you’ll need an external tool.
Here are some great options:
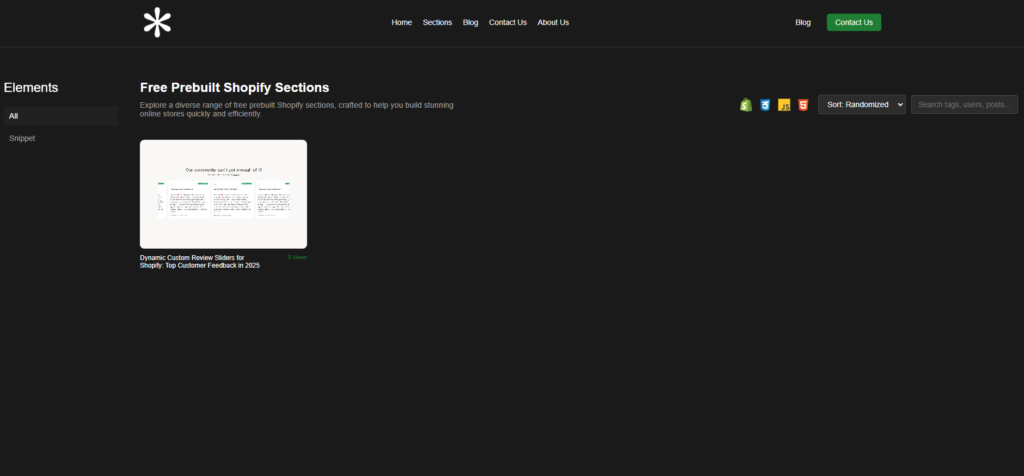
- Prebuilt Shopify Sections – Plug-and-play custom Shopify sections.
- Shogun Page Builder – Drag-and-drop editor for full pages & sections.
- PageFly – Great for custom product sections & landing pages.
Once installed, you’ll be able to visually edit your custom sections without dealing with code.
Step 3: Customize Your Section in the WYSIWYG Editor
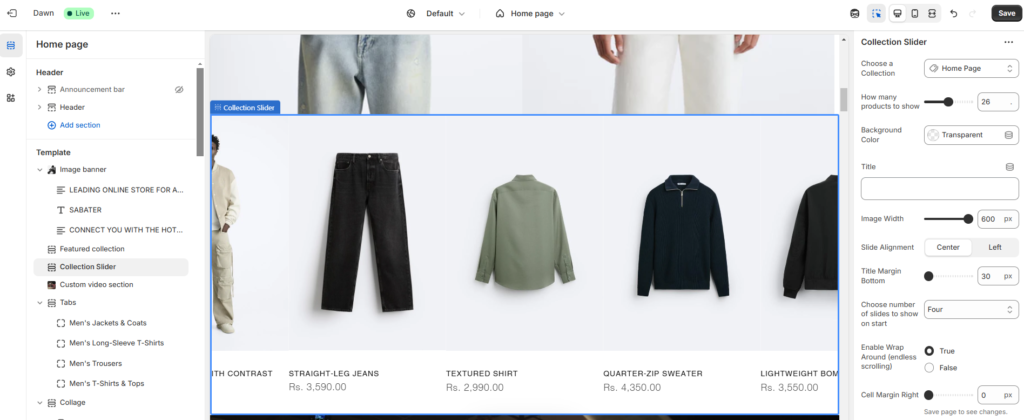
At this point, your editor is set up, and it’s time to make your custom section look awesome.
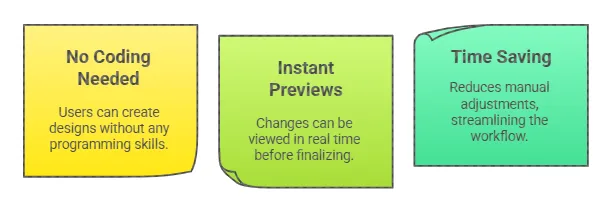
- Things you can do in a WYSIWYG editor:
- Drag & drop elements (text, images, buttons, videos)
- Customize styles (colors, fonts, backgrounds)
- Preview changes in real-time
Make your edits, save the changes, and Shopify will apply them instantly.
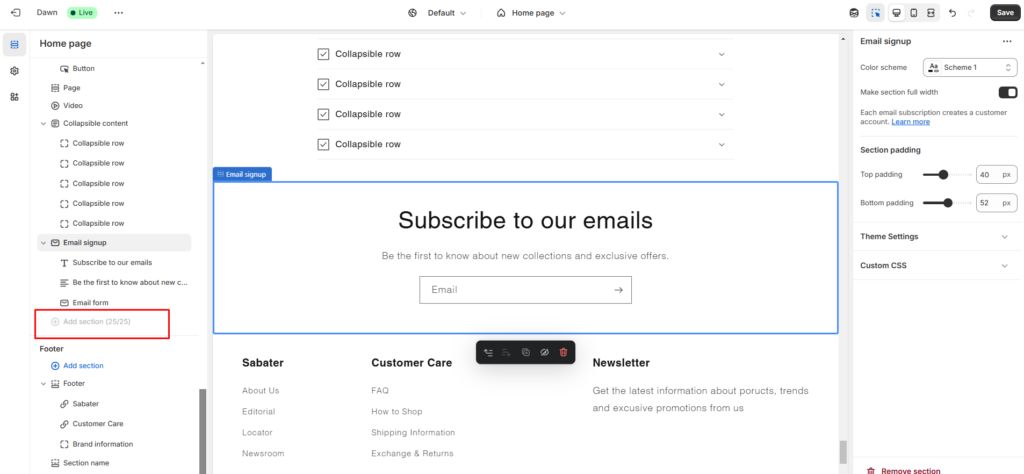
Step 4: Add Your Custom Section to a Shopify Page
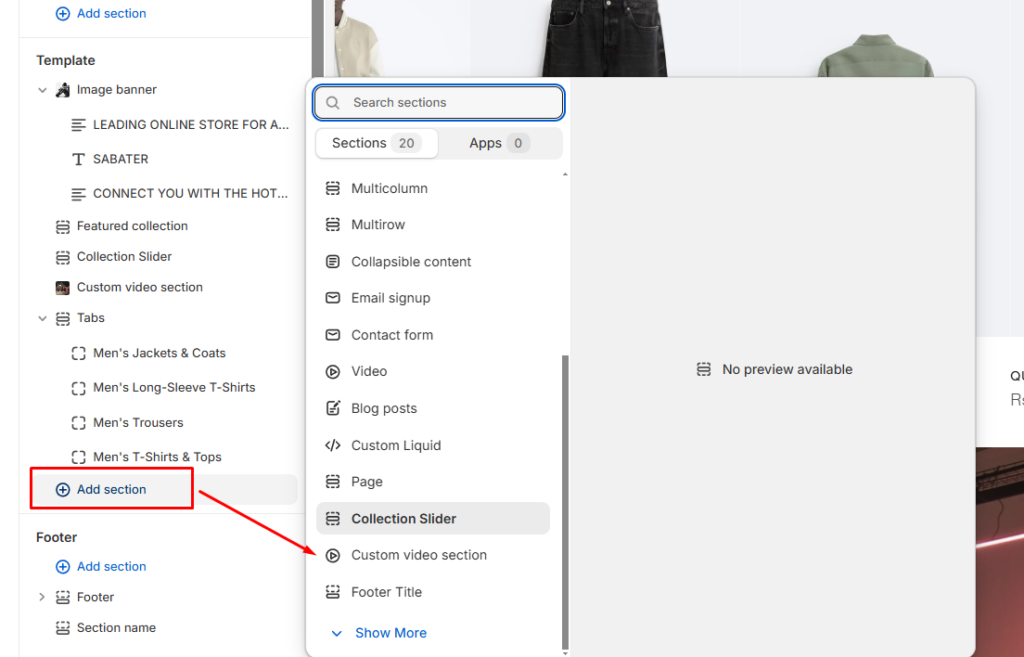
Now, let’s put your new custom section on a page:
- Go to Online Store > Themes
- Click Customize
- Find the Theme Editor
- Click Add Section and select your new custom section
Boom. Your Shopify store now has a fully customized section that you built visually—without Liquid headaches.
FAQs About Custom Section Liquid WYSIWYG Editors
1. What’s the difference between snippets and sections?
- Sections = Editable in the theme editor
- Snippets = Code pieces used inside sections
2. Can I use a WYSIWYG editor for existing sections?
Yes, if the tool supports modifying existing sections instead of just new ones.
3. Do I need coding knowledge to create custom sections?
Nope. If you use Prebuilt Shopify Sections or Page Builder apps, you don’t need any Liquid knowledge.
4. Why isn’t my custom section showing up?
Make sure you added it in the theme editor and saved your changes.
5. Can I reuse my custom sections?
Yes! Once built, you can add the same section across multiple pages.
Final Thoughts: Should You Use a WYSIWYG Editor for Shopify Custom Sections?
Short answer? Yes, if you want full control without coding headaches.
If you’re serious about customizing Shopify but don’t want to waste hours learning Liquid, a Custom Section Liquid WYSIWYG Editor is a no-brainer.
For the fastest, easiest solution, check out Prebuilt Shopify Sections and add high-converting sections in minutes.
And if you’re looking to boost Shopify SEO, read our Shopify SEO Guide (replace # with your blog link).
IF YOU REACH AT END, GO GIVE A LOOK AT blogs ON OUR MAIN website.